Summer Family Photo Outfit Guide
Summer Family Photo
Outfit Guide
Summer in Denver is magical. The long, sunny, humid-free days and abundant wildflowers completely stole my heart when I first came to the “Centennial State” from NYC. Summer days with children are full of gorgeous textures to photograph like ice cream smushed over cheeks and chins, blowing bubbles, splashing around in a pool, and gathering ALL the flowers. I look forward to summer family photo sessions all year!
To prepare my clients, I’ve been sharing the tips below to help them plan their outfits and sessions.
Contact me to book a session! Looking ahead to fall? Currently booking fall sessions as well!
**As a bonus, I also shared my favorite summer recipes at the bottom! Let me know what you try!
How to Prepare for Summer Family Photos:
1. Coorindate Outfits
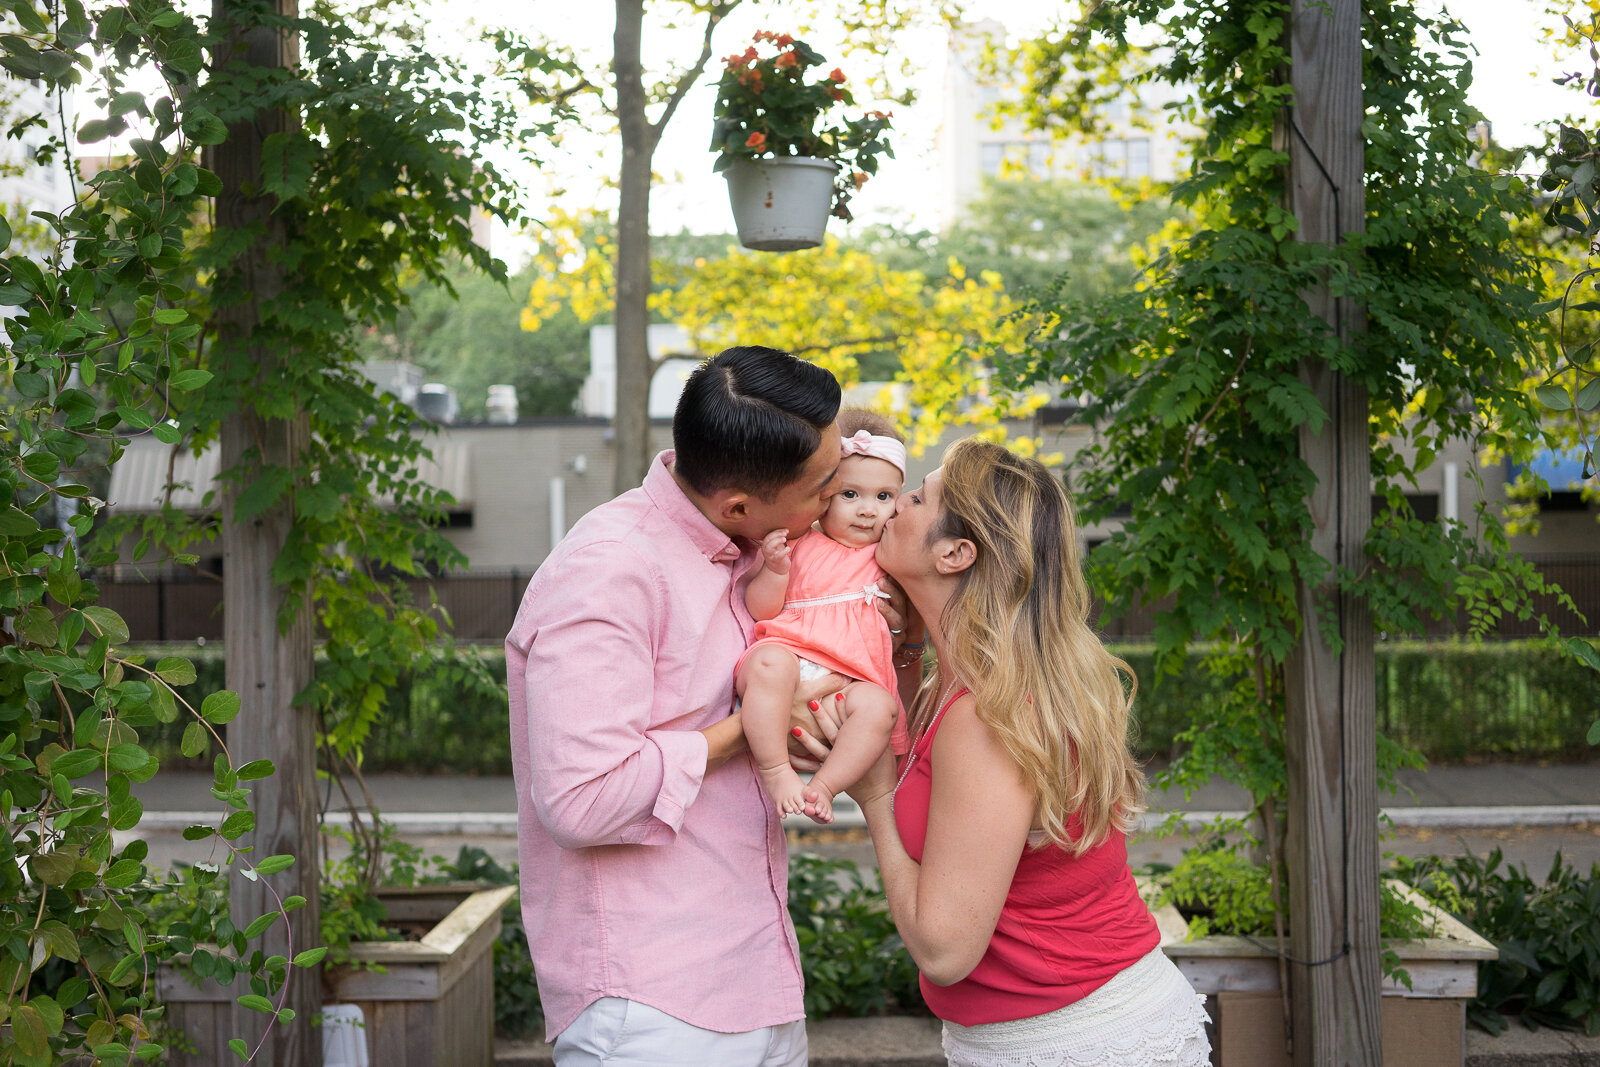
The day of wearing perfectly matching outfits is long past but choosing outfits that complement one another is crucial. A fool-proof place to start is opting for different neutral colors (grey, ivory, beige, brown, blush) and then add in one or two elements of color, such as yellow, red, pink, purple, or blue. Summer landscapes are lush and colorful so opt for muted colors. Instead of a bright fire engine red, try a light dusty burnt orange or rose instead of neon pink. I love floral prints in the summer and often recommend simple, subtle florals that abide by these color recommendations. It can be helpful to start with one family member’s outfit, such as mom(s) or dad(s), and plan accordingly. Perhaps your child has a favorite outfit that both of you love, and they will be excited to wear—plan around that. Don’t force your child to wear something they won’t be comfortable in or don’t like—get their buy-in, so we have happy children!
2. Solids vs. Prints
I tend to recommend solid colors that stand the test of time; they also help you “pop” from the background and not blend into it. My one exception for the summer is floral prints—subtle, simple floral prints photograph beautifully as long as they aren’t too busy. If you adore prints, it’s best if one or two people wear a print and the others wear solids to avoid pattern clashing and an overly busy look to the photos. To add depth and interest to solids, choose shawls, cardigans, jewelry, accessories such as a cinch waist belt, hats, and think about fabrics such as linen, lace, crochet, cotton-gauze, eyelet, seersucker, chambray, and slub.
If you prefer prints, make sure that the prints look nicely against all the group's clothing. Avoid small prints such as small checkered shirts or small stripes, and opt for larger prints such as gingham, floral, and polkadot.
3. Comfort & Ease of Movement
Choose clothing that you feel fabulous in that gives you freedom of movement, is comfortable, and won’t require maintenance throughout your session. You should be able to sit, twist, squat, walk, and raise your arms comfortably—you want to be able to play and move easily! You don’t want to be fixing your clothes when you’re supposed to be looking and feeling carefree.
4. Plan for the Weather
Don’t forget to incorporate rain boots, umbrellas, sunglasses, and cardigans into your outfit planning and plan for layers that can easily be taken off in case the temperatures drop. When planning your layers, make sure your outer layers are part of your outfit and coordinate with your underlayers. I recommend planning both warm weather and cold weather selections for your session. There can be unexpectedly cool days and sweltering hot days. It will be one less thing to worry about if you are covered for either type of weather.
5. What to Avoid
Bright white, dark colors such as brown, black or dark navy should all be avoided. Muted colors work much better than saturated so instead of bright neon green, think seafoam green. Don’t wear clothing with logos or text—they detract attention from your faces. Pick outfits and colors that you will enjoy having framed in your house year-round. Please also avoid transition lenses and if you do wear glasses, clean them before the session. Also, avoid low necklines, visible bra straps, and short skirts or dresses that would need to be regularly adjusted.
6. What to Wear (& not wear) for Women
Wearing fitted tops tucked into long skirts, a-line dresses or coats, flowy or fitted tunics with skinny pants, and maxi and midi dresses are always flattering. Blazers and cardigans help accentuate shoulders and smaller waists, creating a nice hourglass shape. Scarves can add a fun pop of color. Wedges are typically easy to move around in and photograph beautifully. Avoid sleeveless tops or dresses unless you LOVE your arms.
Finding the balance between not too-fitted and not too baggy is key. Make sure your clothing is properly fitted, not too revealing, and flatters your shape. Think about balancing your top half and lower half and what your favorite features are. For example, if you are a pear shape such as myself, think slimmer fit on top and a-line or flowy on the bottom. Wearing a belt to accentuate small waists or to create a waist adds balance and is always flattering. If you want to show off your legs, think skinny pants and a full top. Don’t wear blousy/full on top and bottom—only choose one.
7. What to Wear (& not wear) for Men
Choose a shirt that is meant to be worn un-tucked and opt for layers. Think about the materials and that they are breathable and easy to move in. Button-down or polo tops with slim-fit jeans or chino pants (avoid baggy fit) are always a winning combination. Leather shoes and boat shoes all look great—please avoid athletic shoes.
8. What to Bring & Leave at Home
Leave large handbags, fanny packs, and other burdensome accessories at home. If you need a stroller or diaper bag, please pack compactly so we can easily leave it out of the shot as we move around.
Does your child have a special toy from a grandparent that they love playing with? A book that makes them smile?
Other fun ideas? Bubbles, running through sprinklers, fresh flowers, watermelon, ice cream, outdoor baths. The summer offers endless activities that make for authentic fun photos!
9. Plan Around Your Child’s Schedule
The hour after sunrise and the hour before sunset is known as “Magic Hour” or “Golden Hour” and often graces us with gorgeous lighting. However, beautiful lighting does not make a child who is missing his or her nap time happy. When choosing the time of day for your session, plan around napping and eating schedules or any “afternoon meltdown” times to ensure your child will be happy and playful. If that time corresponds with Magic Hour—great, but a happy child takes priority over lighting. Golden lighting can be added to the images afterward, thanks to editing.
And lastly, my favorite summer recipes—please let me know if you try any!
Chilled Cucumber and Avocado Soup with Mango Salsa


